前言
前段时间面试时被问到了一张10M的大图如何能快速加载,当时的回答不是很好,现在来重新研究一下。
本文使用的哭包和主要版本为:
技术调研
加载大图,图像10M以上哪怕几十M任何的压缩手段都不在考虑范围内了,而是想办法把图片分割为小图,并行请求后再加载显示。
而把图片切分为小图,可以使用sharp这个库包实现,可以通过
1
2
3
4
5
6
7
8
9
| const sharp = require('sharp');
sharp(imagePath)
.extract({
left: x ,
top: y,
width: tileWidth,
height: tileHeight
})
.toFile(filePath)
|
指定图片裁剪的左上角坐标和裁剪的宽高实现。
而前端需要展示,可以通过createImageBigmap创建一个ImageBigmap图像来源传给canvas绘制,之后可以直接使用canvas渲染,也可以使用HTMLCanvasElement.toDataURL() API生成DataURL的图像链接或者是Blob URL对象再传给img标签加载。
使用canvas绘制的核心代码
1
2
3
4
5
| const canvas = document.createElement("canvas");
canvas.widhth=300;
canvas.height=500;
const ctx = canvas.getContenxt("2d");
ctx.drawImage(imageBigmap,dx,dy) //dx,dy为画布上的起始坐标(左上角)
|
图像分割决策
**既然决定了分割图像,需要分析下如何分割。第一想到由前端来决定,比如前端已知要加载固定大小的宽高,假设要加载的图片宽高是 **300*500,可以以``100*100`的矩形大小将图片分割为15个小图,那么前端就需要15个http请求,加载这些小图后使用canvas绘制后转DataURL。
前端代码如下(react):
1
2
3
4
5
6
7
8
9
10
11
12
13
14
15
16
17
18
19
20
21
22
23
24
25
26
27
28
29
30
31
32
33
34
35
36
37
38
39
| const canvas = document.createElement("canvas");
const ctx = canvas.getContext("2d")!;
const { width, height } = data;
canvas.width = width;
canvas.height = height;
const img = imageRef.current!;
// 加载并绘制图片块
const promises = [];
//图片大小是300*500,分成100*100的大小加载,共计15个块
for (let i = 0; i < 15; i++) {
const url = new URL(`http://localhost:3000/image-chunk/test.jpg`);
const params = url.searchParams;
params.set("width", "300");
params.set("height", "500");
const y = Math.floor(i / 3) * 100;
const x = (i % 3) * 100;
console.log(i, x, y);
params.set("x", x.toString());
params.set("y", y.toString());
promises.push(
fetch(url)
.then((response) => response.blob())
.then((blob) => createImageBitmap(blob))
.then((imageBitmap) => {
ctx.drawImage(imageBitmap, x, y);
})
);
}
try {
await Promise.all(promises);
console.log("All chunks loaded and drawn");
const dataURL = canvas.toDataURL();
img.src = dataURL;
} catch (error) {
console.error("Error loading chunks:", error);
}
}
|
后端可以使用express来搭建一个切片服务器
1
2
3
4
5
6
7
8
9
10
11
12
13
14
15
16
17
18
19
20
21
22
23
24
25
26
27
28
29
30
31
32
33
34
35
36
37
38
39
40
41
42
43
44
45
46
47
48
49
50
51
52
53
54
55
56
57
58
59
60
61
62
| const express = require('express');
const sharp = require('sharp');
const fs = require('fs');
const path = require('path');
const app = express();
const PORT = 3000;
const upload = multer({ dest: 'images/' })
const cors = require('cors');
const CHUNK_SIZE = 500 * 1024; // 500KB
app.use(cors());
// 处理图片拆分请求
app.get('/image-chunk/:filename', async (req, res) => {
const { filename } = req.params;
const { width,height,x,y} = req.query;
const imagePath = path.join(__dirname, 'images', filename);
if (!fs.existsSync(imagePath)) {
return res.status(404).send('Image not found');
}
try {
const image = sharp(imagePath);
const buffer = await image
.resize({
width: parseInt(width),
height: parseInt(height),
fit: "fill",
})
.extract({
left: parseInt(x),
top: parseInt(y),
width: 100,
height: 100
})
.jpeg({
quality: 100,
progressive: true,
mozjpeg: true,
chromaSubsampling: '4:4:4'
})
.toBuffer();
res.writeHead(200, {
'Content-Type': 'application/octet-stream',
'Content-Length': buffer.length,
});
res.end(buffer);
} catch (error) {
console.log(error)
res.status(500).send('Error processing image,error: '+error.message);
}
});
app.listen(PORT, () => {
console.log(`Server is running on http://localhost:${PORT}`)
})
|
由于图片的实际大小可能不一致,先使用resize() API将图片转为对应的大小,再裁剪为需要的大小。
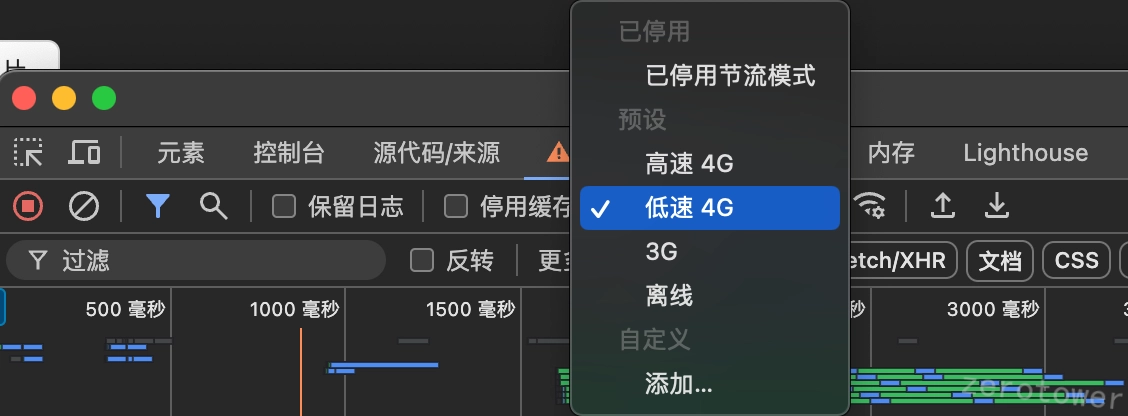
测试页面,调试工具将网络调整到低速4G。
加载大小为7.3M的测试图片:
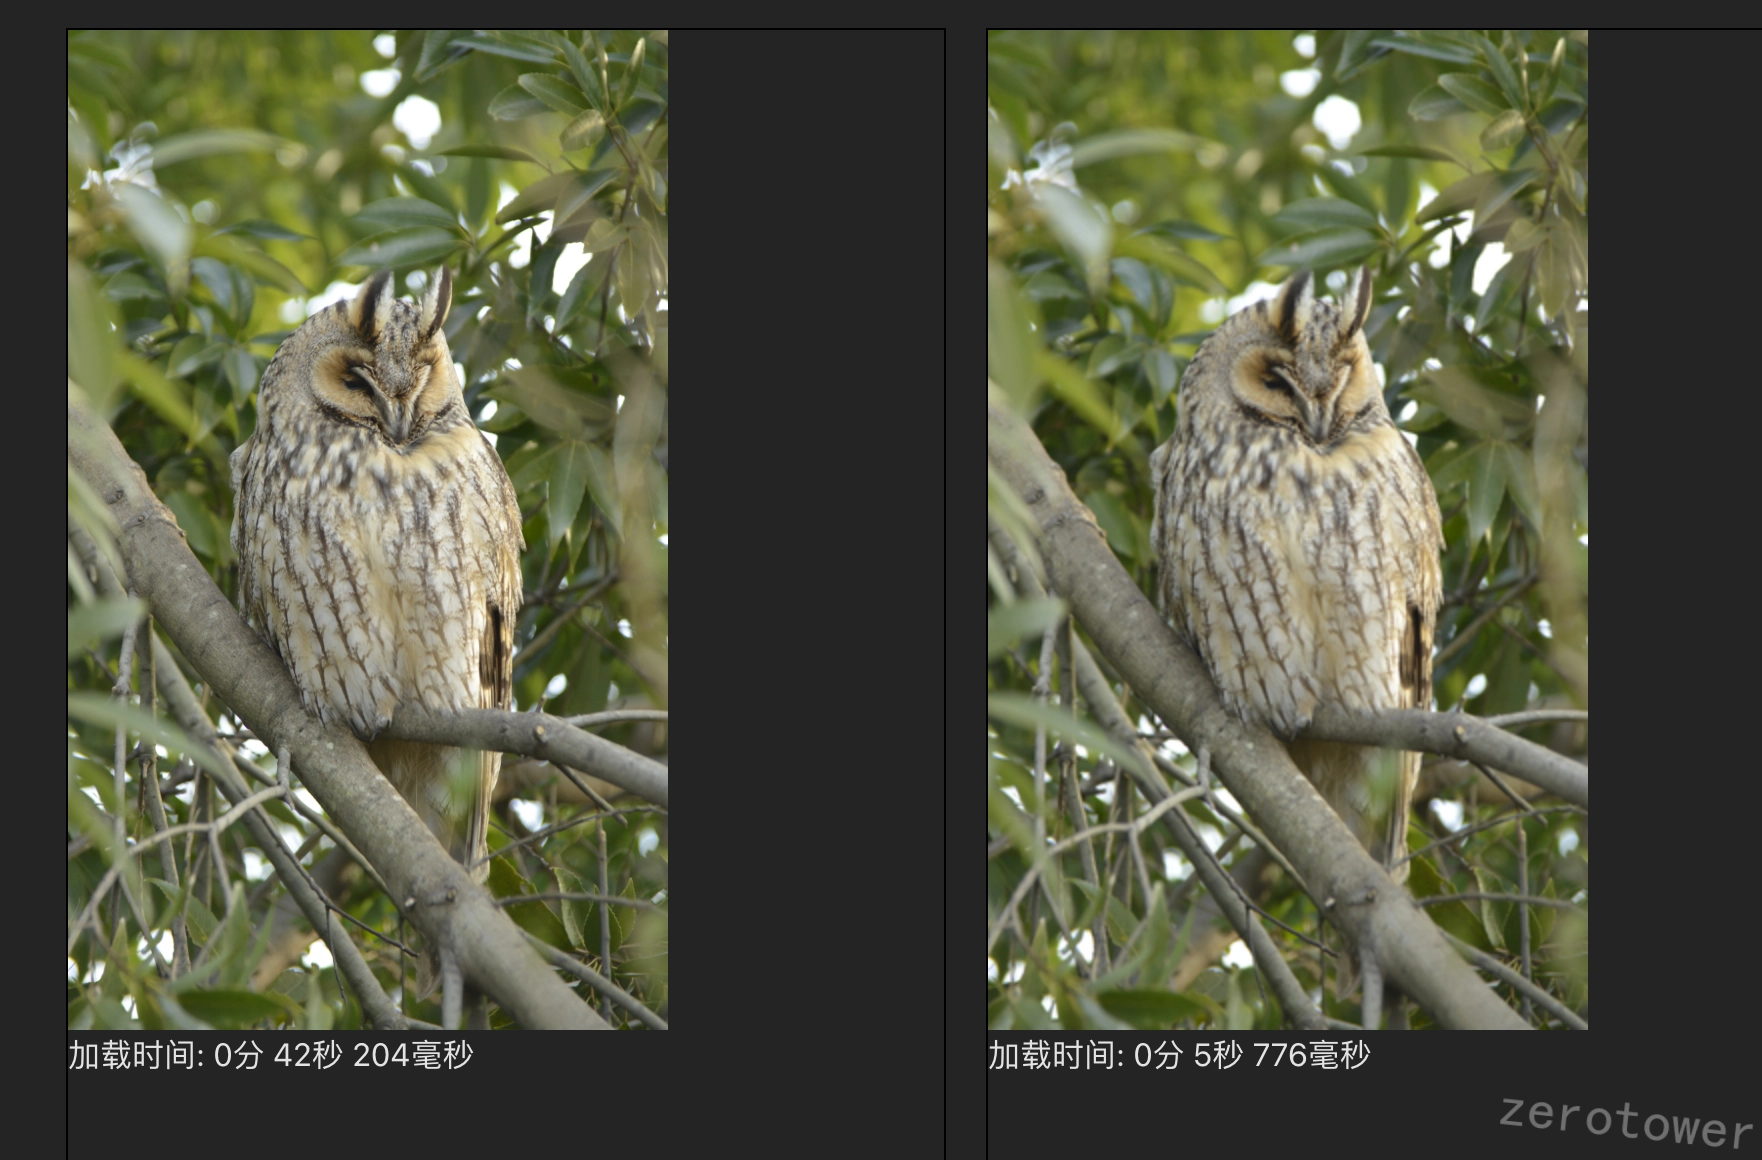
原图加载下耗时42s,图片分割后加载耗时大约6s。
后端切片存储
然而,如果图片较大(原谅我目前没有较大的图片)这种由前端指定后端生成小图的方式将会有巨大的耗时,应该利用后端提前生成所有的小图,并把这些小图建立起一个静态资源服务器,先告诉前端一共有多少张小图和请求路径,前端页面请求所有的小图再加载就可以了。
可以在后端新增一个上传接口,当图片上传时,将其分割为若干小图(这里由于切片太多,选择500 x 500大小),并保存在服务器上。
1
2
3
4
5
6
7
8
9
10
11
12
13
14
15
16
17
18
19
20
21
22
23
24
25
26
27
28
29
30
31
32
33
34
35
36
37
38
39
40
41
42
43
44
45
46
47
48
49
50
51
52
53
54
55
56
57
58
59
60
61
62
63
64
65
66
67
68
69
70
71
72
73
74
75
76
77
78
79
80
81
82
83
84
85
86
87
88
89
90
91
92
93
94
95
96
97
98
99
100
101
102
103
104
105
106
107
108
109
110
111
| const multer = require('multer')
const upload = multer({ dest: 'images/' })
app.post('/upload2', upload.single('file'), async (req, res) => {
try {
const image = req.file;
const originalName = image.originalname;
const [name, ext] = originalName.split('.');
// 重命名上传的文件
fs.renameSync(image.path, `images/${originalName}`);
// 创建切片存储目录
const tilesDir = `tiles/${name}`;
ensureDirectoryExists(tilesDir);
// 获取图片信息
const metadata = await sharp(`images/${originalName}`).metadata();
const { width, height } = metadata;
// 计算切片数量
const cols = Math.ceil(width / 500);
const rows = Math.ceil(height / 500);
const tiles = [];
// 切割图片
for (let y = 0; y < rows; y++) {
for (let x = 0; x < cols; x++) {
const tileWidth = Math.min(500, width - x * 500);
const tileHeight = Math.min(500, height - y * 500);
const tileName = `tile_${x}_${y}.jpg`;
const tilePath = `${tilesDir}/${tileName}`;
await sharp(`images/${originalName}`)
.extract({
left: x * 500,
top: y * 500,
width: tileWidth,
height: tileHeight
})
.jpeg({
quality: 100, // 最高质量
mozjpeg: true, // 使用mozjpeg优化
chromaSubsampling: '4:4:4' // 禁用色度子采样
})
.toFile(tilePath);
tiles.push({
x: x * 500,
y: y * 500,
width: tileWidth,
height: tileHeight,
file: tileName
});
}
}
// 保存元数据
const metadata_json = {
originalImage: originalName,
width,
height,
tileSize: 500,
tiles
};
// 保存切片信息
const tilesInfo = {
imageInfo: {
name: originalName,
width,
height,
totalTiles: cols * rows,
cols,
rows,
tileSize: 500
},
tiles: tiles.map(tile => ({
...tile,
path: `${name}/${tile.file}`, // 相对路径
url: `/tiles/${name}/${tile.file}` // URL路径
}))
};
// 保存 tiles.json
fs.writeFileSync(
`tiles/${name}/tiles.json`,
JSON.stringify(tilesInfo, null, 2)
);
// 原有的 metadata.json 保持不变
fs.writeFileSync(
`${tilesDir}/metadata.json`,
JSON.stringify(metadata_json, null, 2)
);
res.json({
success: true,
message: 'Image uploaded and processed successfully',
metadata: metadata_json,
tilesInfo
});
} catch (error) {
console.error('Error processing image:', error);
res.status(500).json({
success: false,
message: 'Error processing image',
error: error.message
});
}
});
|
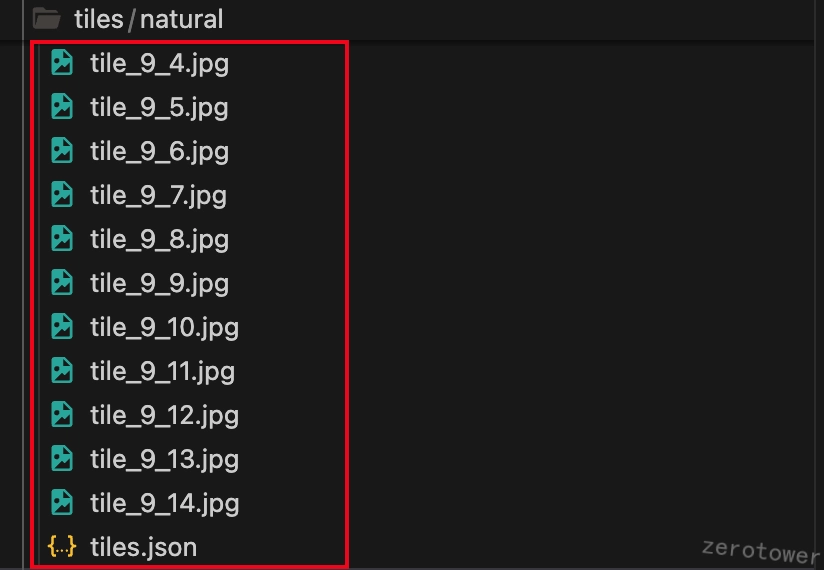
上传上述的测试图片,得到切片小图和一个含有切片信息的json文件。
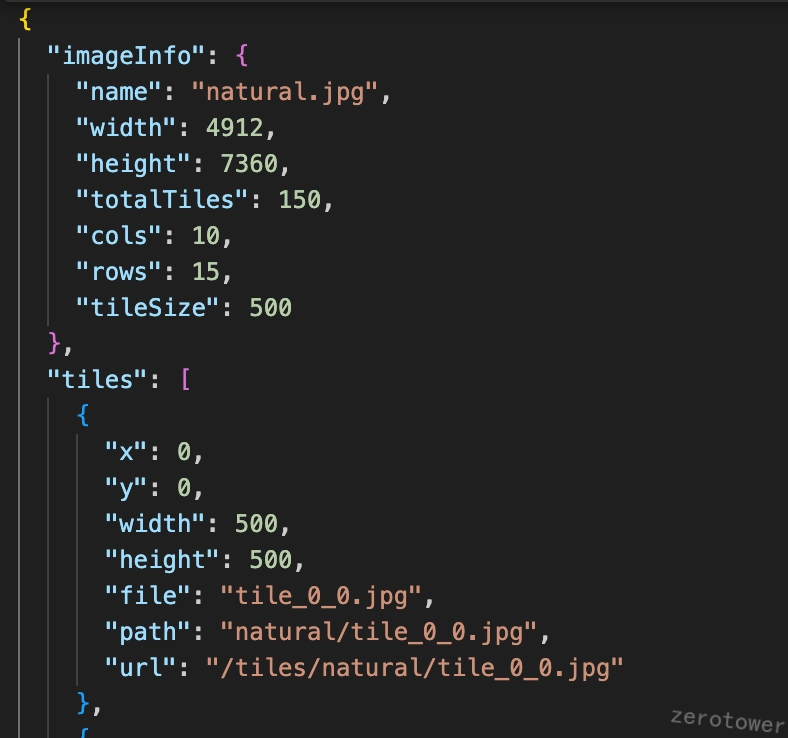
在JSON文件中的imageInfo字段里包含了图片的基本信息,tiles字段包含每一张切图的坐标信息、大小和服务存储路径。前端可以请求获取这份json文件,然后便利tiles字段,就可以继续请求所有的切图。
相关核心代码有:
1
| const drawImage = async () => {↔};
|
前端加载为:
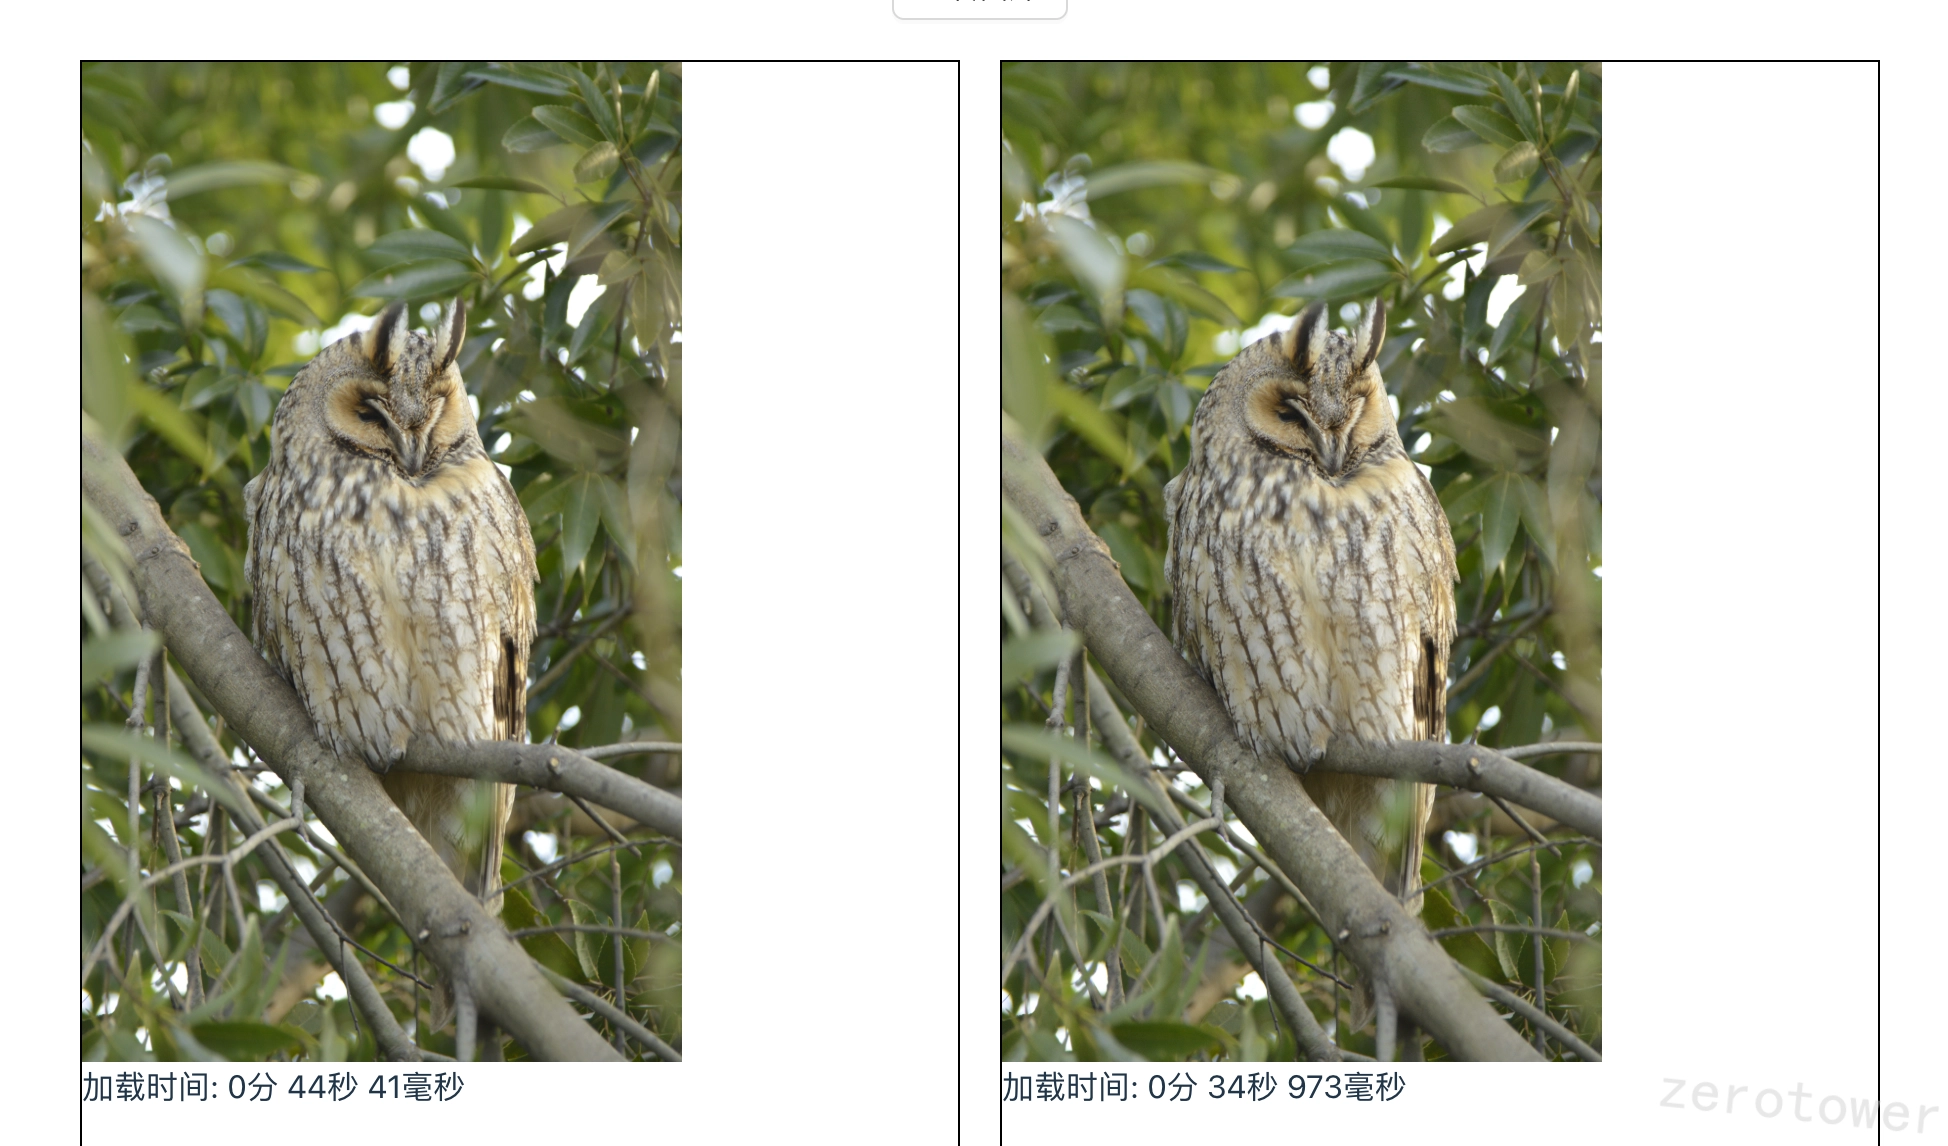 可以看到,前端加载时长直接加载时间还是大约45s,但是切图后加载就达到了大约35s,似乎预先切图的效果大打折扣了。但其实,由于HTTP1/1的限制,每次并发的网络请求最大限制为6次,150个图片请求只是代码层面的并发,并没有实际执行,而是在浏览器排队等待执行。
于是,我把代码部署在服务器开启HTTP2并测试:
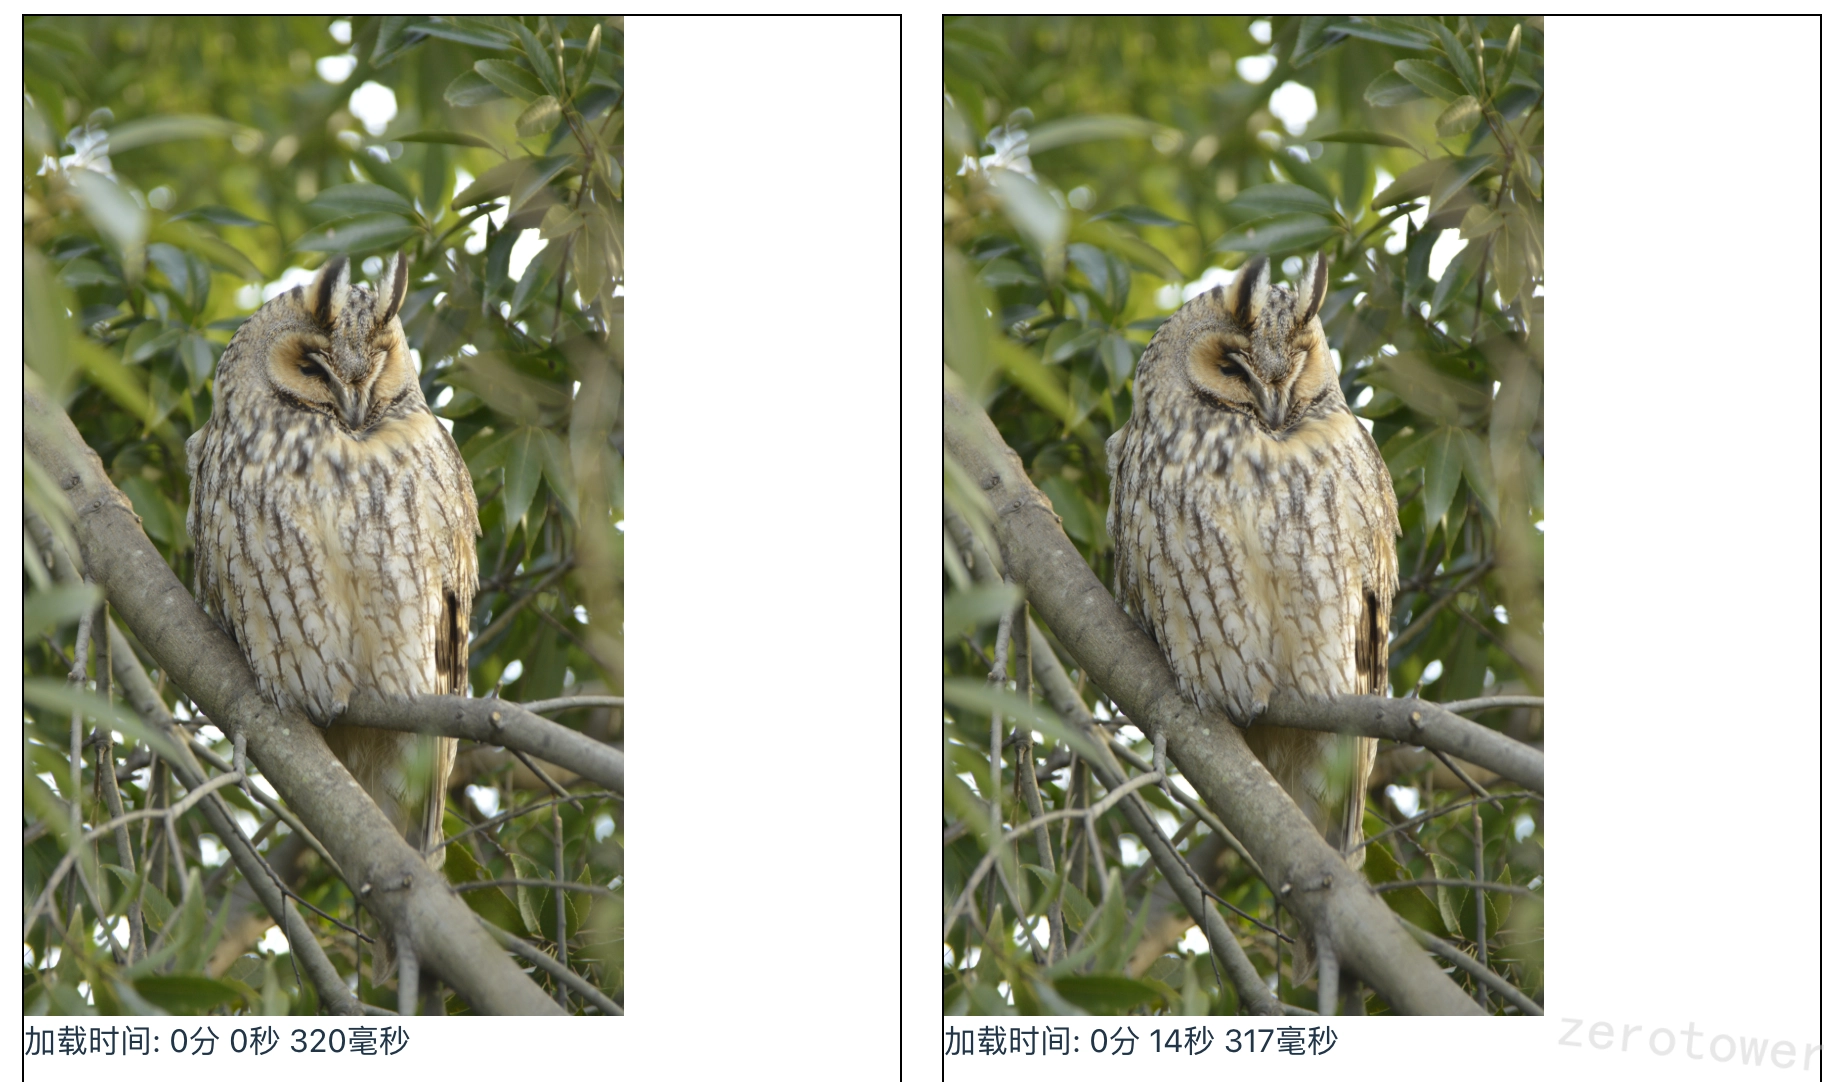
这时的切图耗时来到了大约14s,由此,大图加载可以由后端预先切成小图最后由前端加载,且需要在生产环境开启http2。
**# **参考文档
- ImageBitmap APIMDN官方文档
- createImageBitmap API官方文档
- sharp.js参考文档


 可以看到,前端加载时长直接加载时间还是大约45s,但是切图后加载就达到了大约35s,似乎预先切图的效果大打折扣了。但其实,由于HTTP1/1的限制,每次并发的网络请求最大限制为6次,150个图片请求只是代码层面的并发,并没有实际执行,而是在浏览器排队等待执行。